The sandstone palace: harnessing the power of Learning & Development

Providing the creative freedom for individuals to grow is a core Atomhawk value. It means empowering artists to tap into the people and resources available to them here.

Creatives are like plants; each one needs a slightly different set of conditions to thrive. At Atomhawk we aim to create the ideal environment to aid that growth. Our Art Management and Art Leadership teams work together to manage and empower with our collaborative Learning & Development training programme. This ensures everyone gets the care they need to improve in their own specialisations or explore safely outside of the realm of their current capabilities.

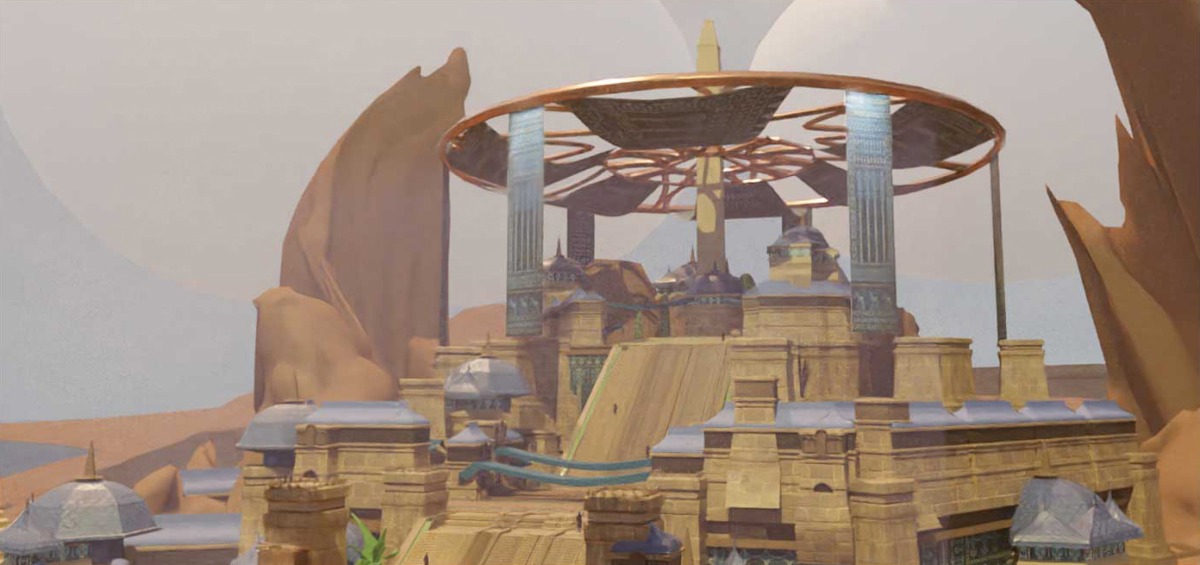
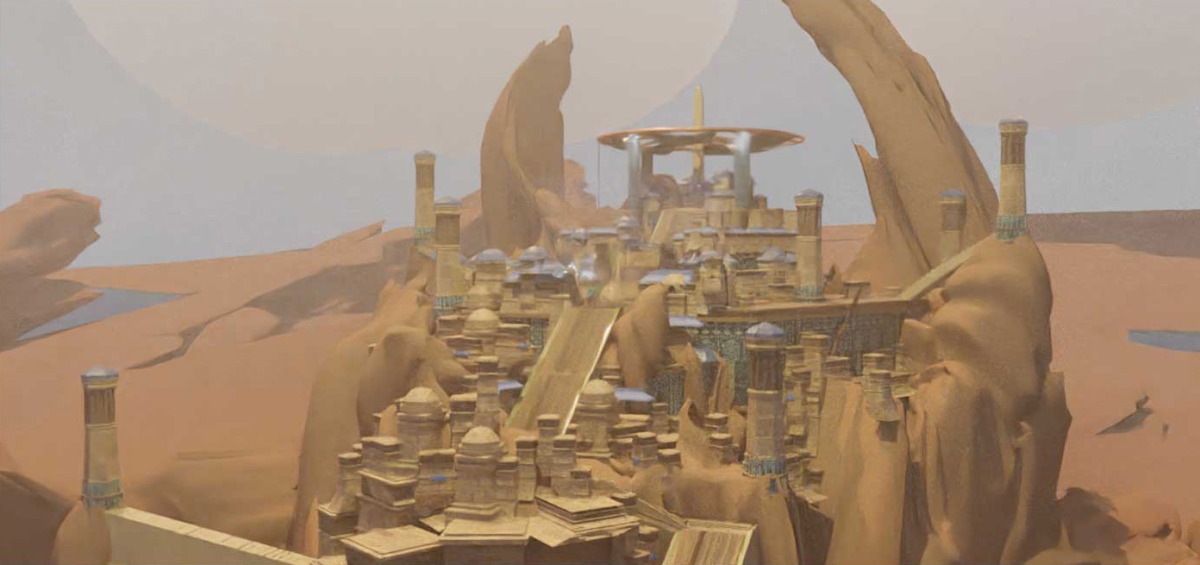
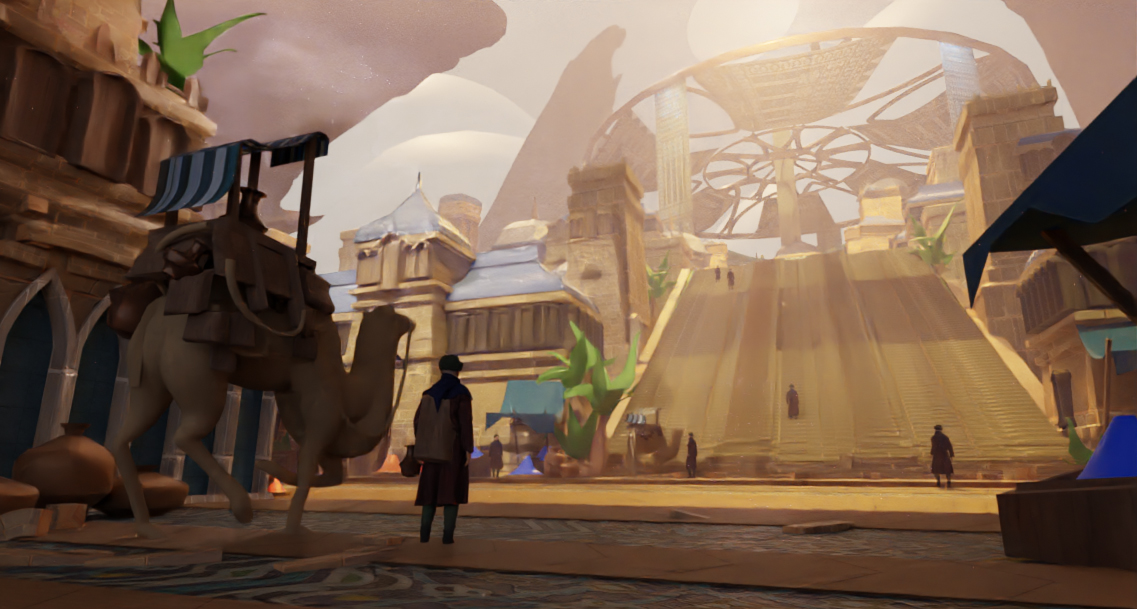
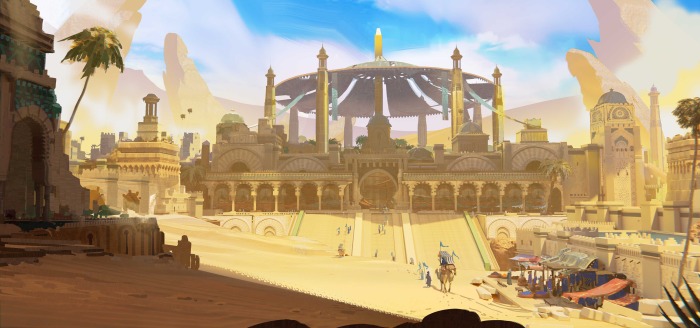
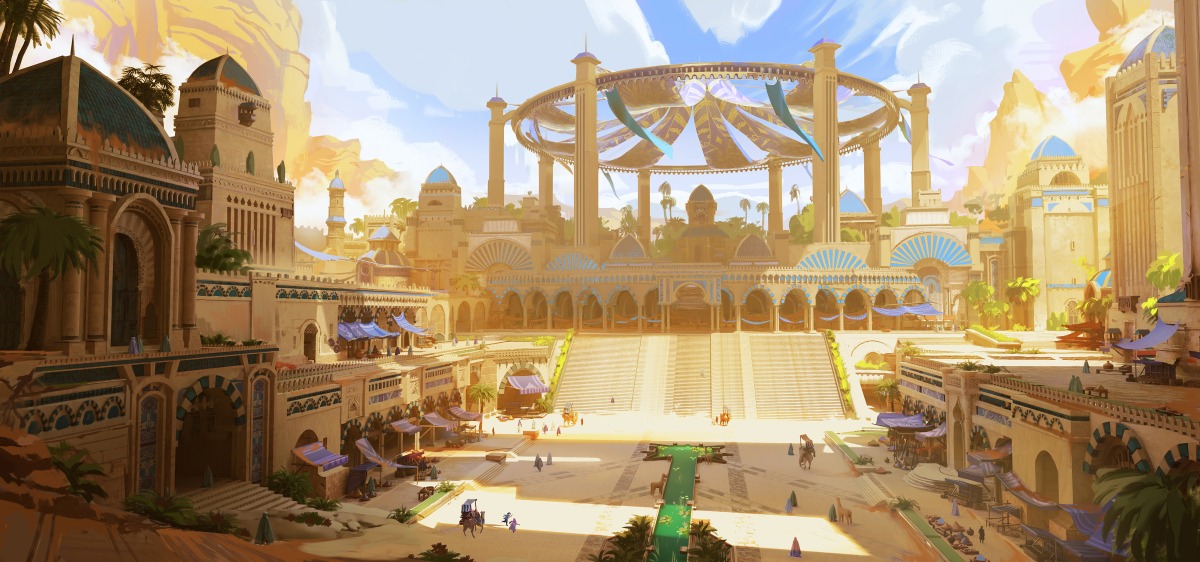
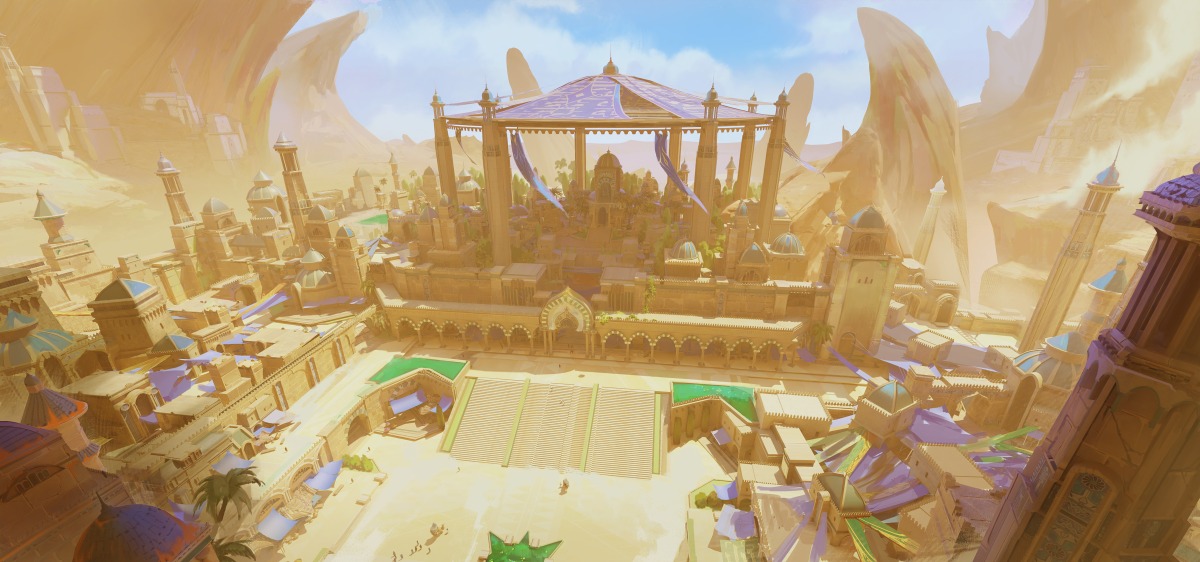
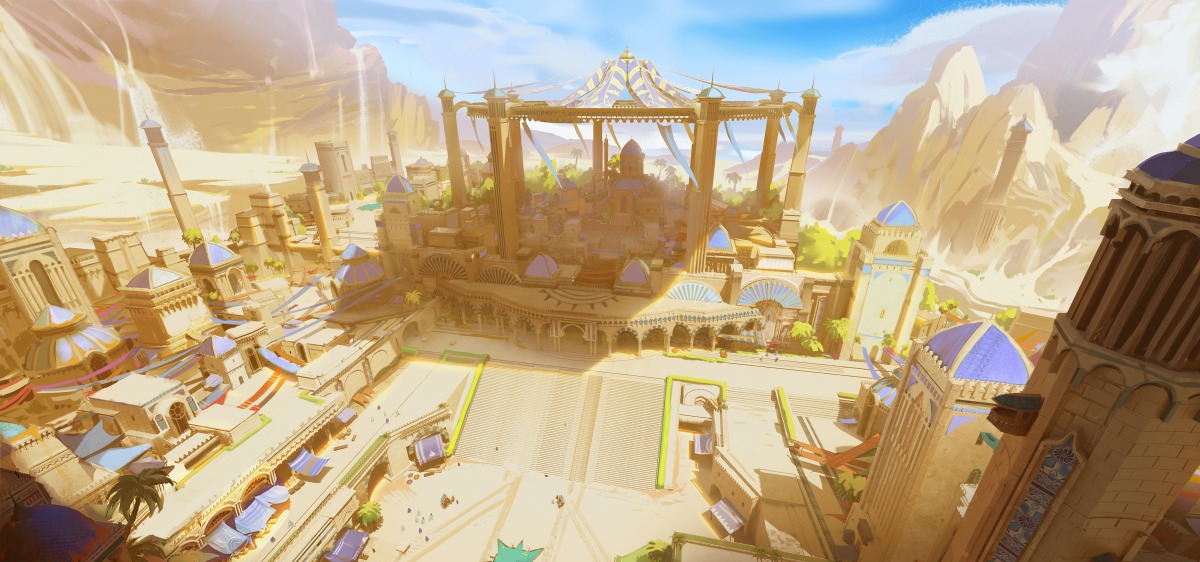
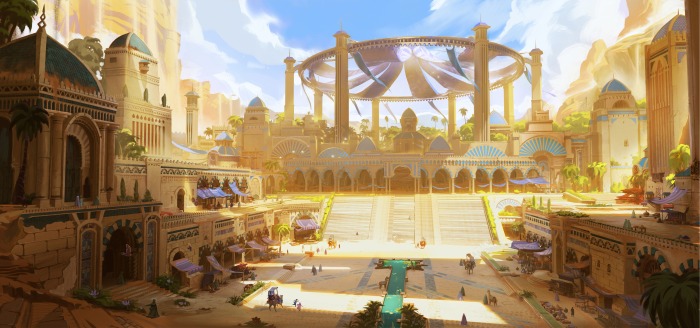
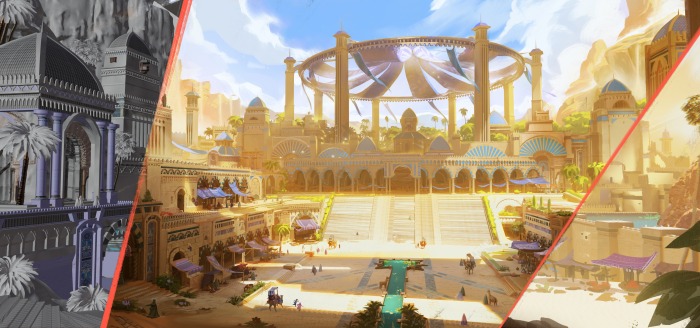
It’s a real treat when we have an opportunity to share the results of the team’s upskilling through our Resources page. Today, we’re delving into the mind of Corinne Caro at Atomhawk Design, who will take us through the step-by-step process of creating this gorgeous sandswept city.
Moodboarding

“Once I receive a brief, I start collecting references and grouping them into categories such as architecture, the environment, lighting scenarios and others such as market stalls, tile patterns, or produce that could be sold in this area. I tend to have a general moodboard where I put the main read I’d like for the composition but I also like to expand on this on the side if I need to look up more references that can help in the modelling/finishing stage.

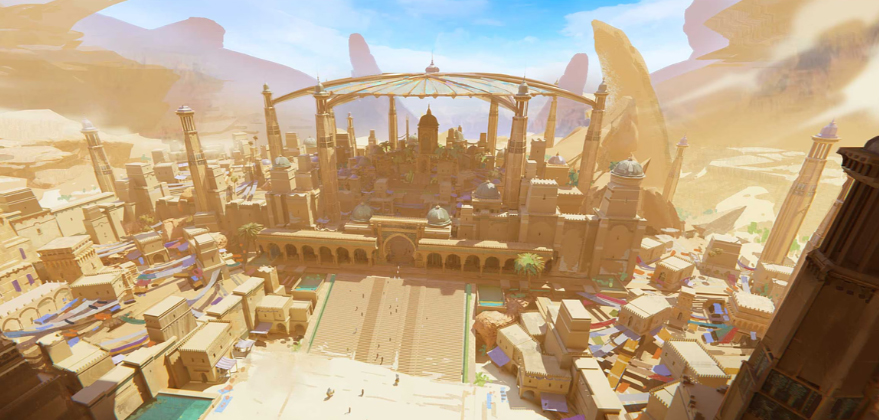
The feature in this city is the giant structure in the middle that offers shade to the main plaza where merchants travel to for rest and trading. I was really interested in architecture that are decorated with intricate tiles and patterns which would use azure or turquoise. I wanted to create a vibrant city that you could feel like you could get lost in and that would have many alleys and shops you could visit.”

Sketching and thumbnailing

“I then start thinking about the story of this environment. Who would live here, what would a regular day living here look like, what is this place known for? I try to have a general idea for the story first before I start on sketches.

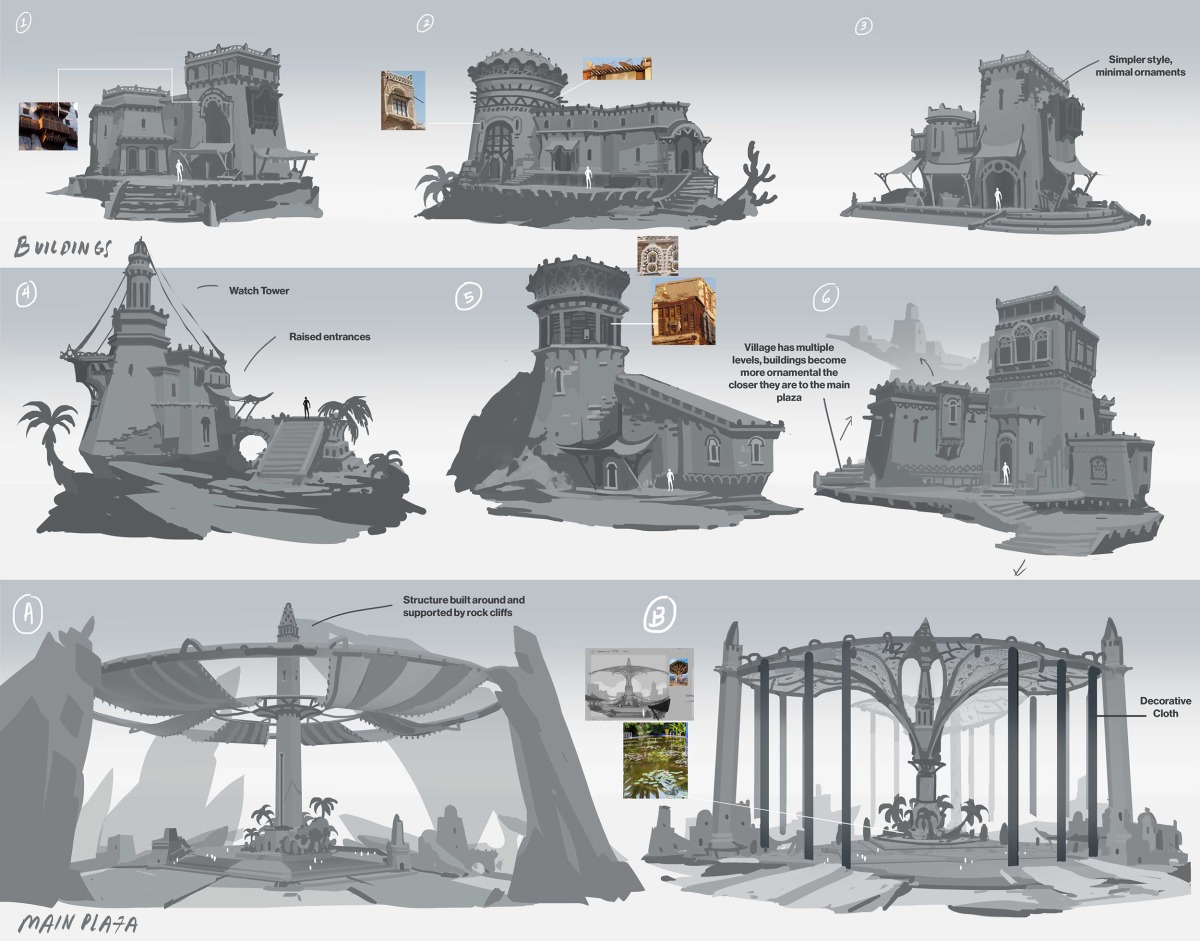
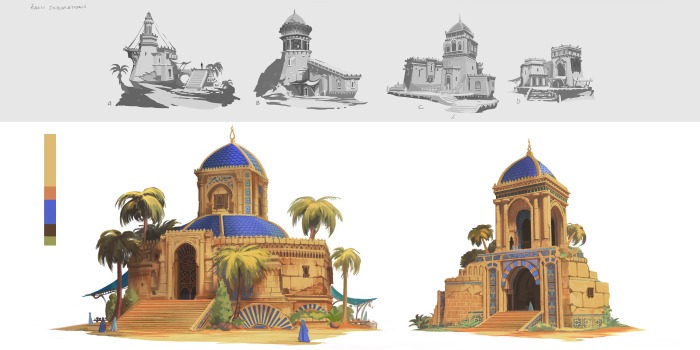
I start creating quick sketches of buildings or areas that could appear in the city. My first round of sketches are spent on studying and redrawing the references. Once I get a feel of the style, I go looser and see how much I can push the look or shapes of the buildings.

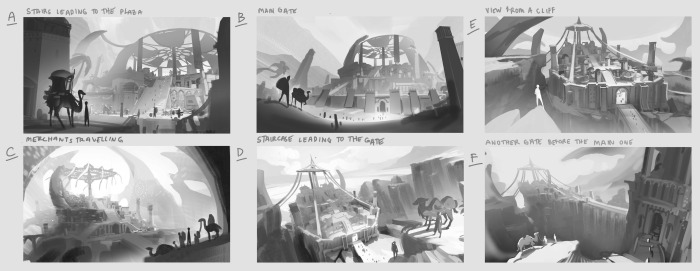
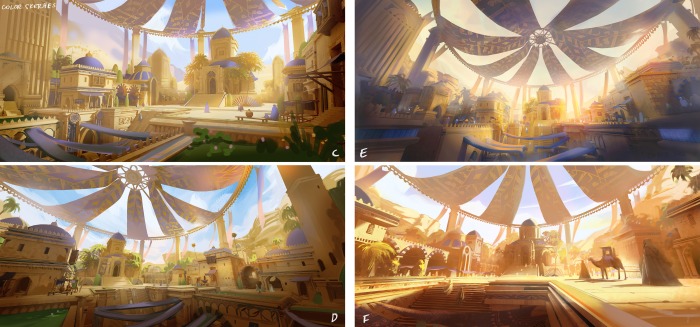
To get an idea on how I can start on the 3D blockout, I start sketching ideas of the composition as well. How can I best showcase the city? I start in black and white so I can quickly try different angles and places in the city and how the lighting can make the focus of the composition clear. After that, I then start creating color sketches. This is helpful to give me an idea of the time of day and how the architecture blends in with the environment. I try to spend as much time as I can on this stage so that I can explore many ideas before I set myself in a single direction. The color sketches are important as this is what I’ll always go back to for reference on how the finished compositions should look like.”

Blockout

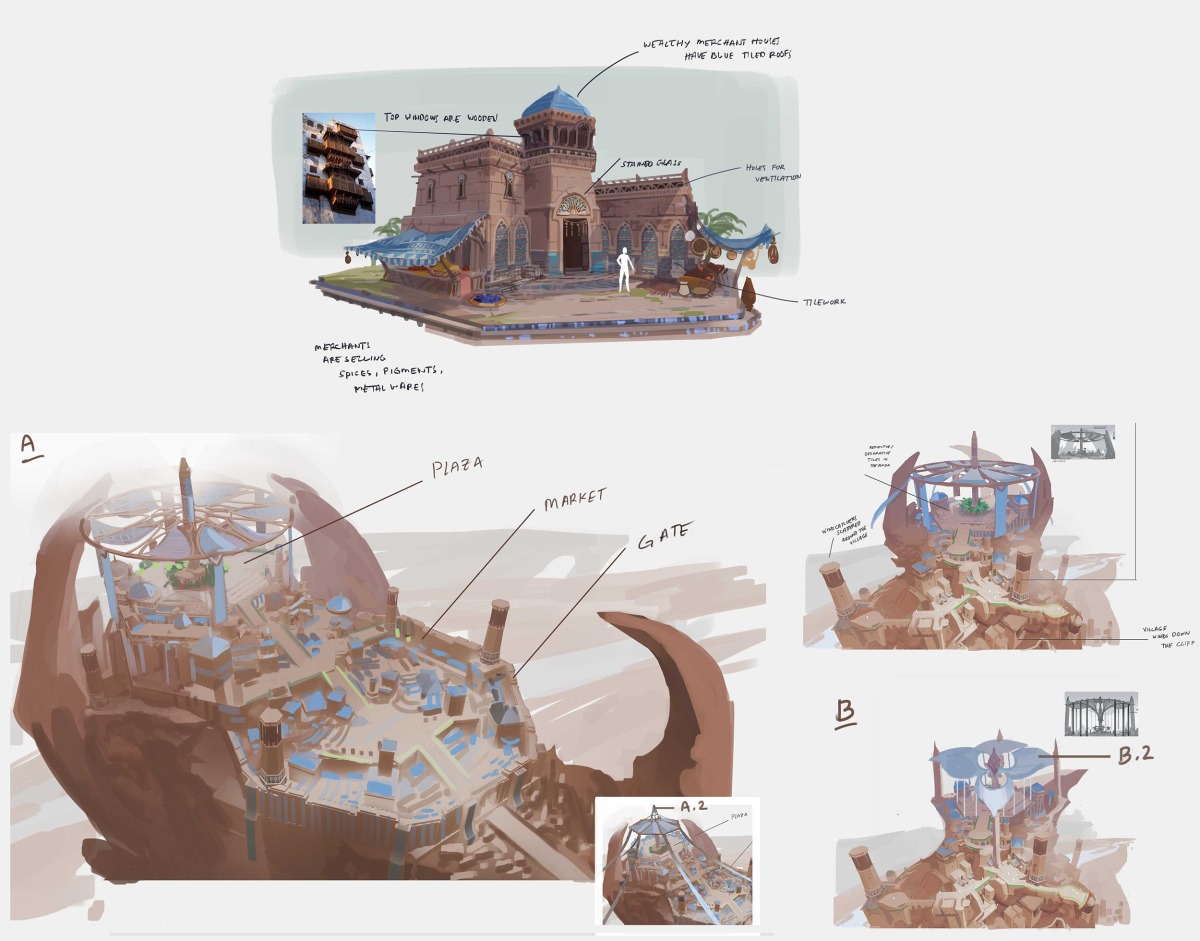
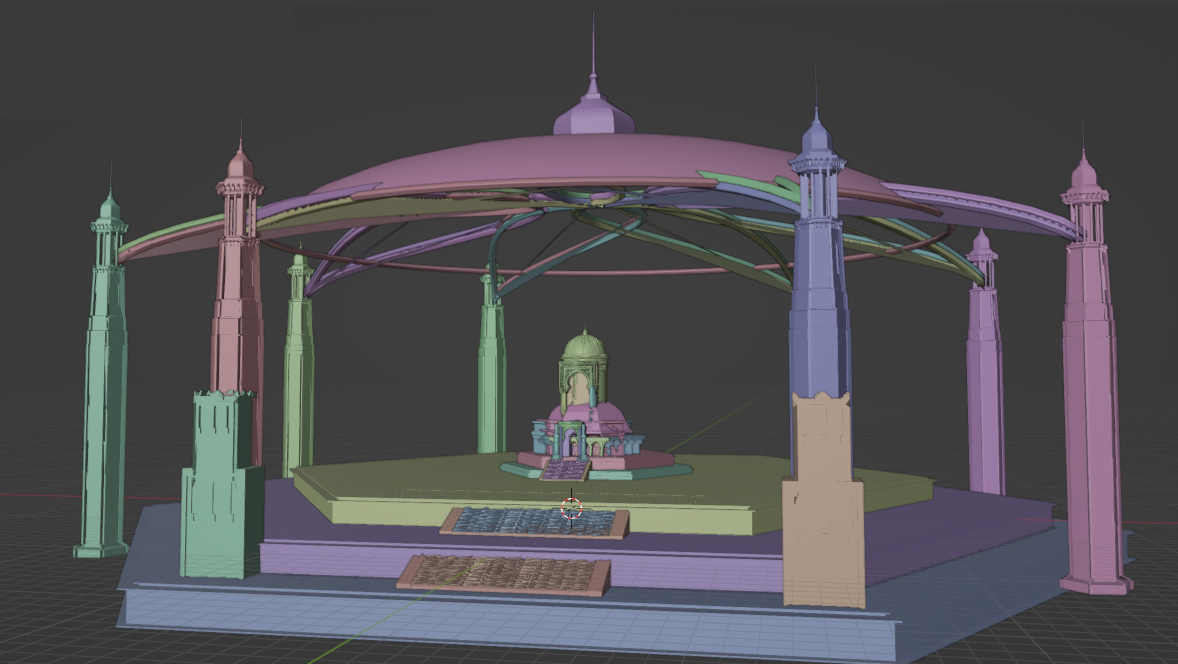
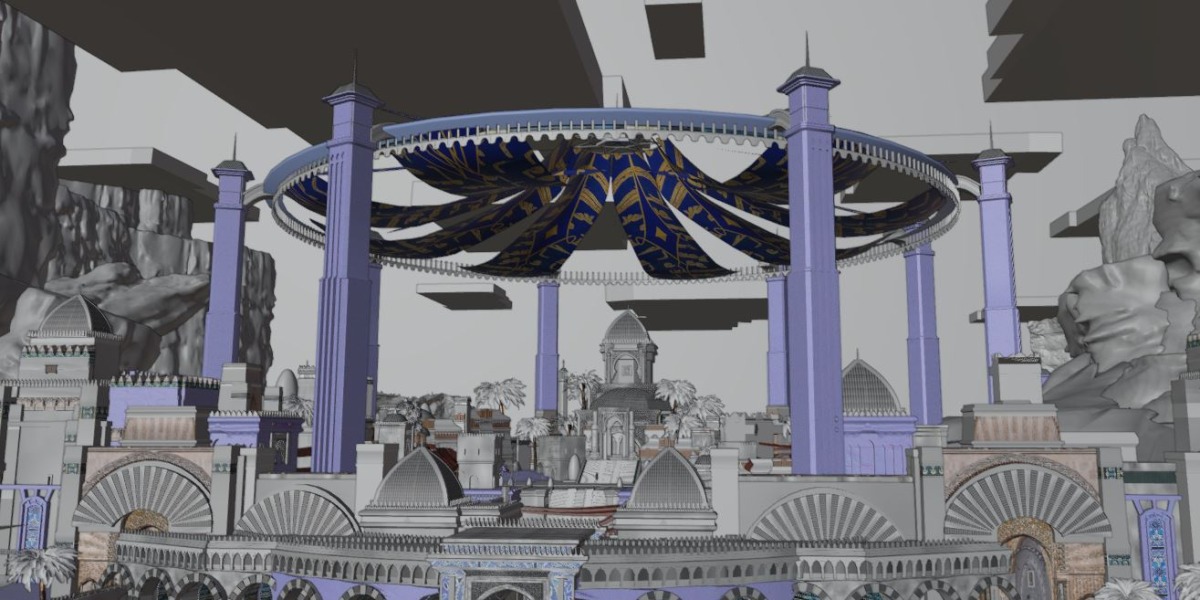
“When it comes to 3D blockouts, I tend to jump back and forth from 2D to 3D. I personally tend to “see” better when it comes to 2D and it’s a quick way to add in ideas without having to commit to a 3D blockout which might take me longer to do. I first start with the main structure of the environment, usually working with cubes and curves, and then build outwards from there.

I also have a look at the color sketch as well so that I can add placeholder materials and lighting so that I have a base that I can sketch on while working on the blockout.”

Paintover and modelling

“Before I start modelling, I like to do a quick paintover over the blockout to get a better picture of what I’m aiming for. Same with the blockout phase, I still go back and forth with 2D and 3D to see how I can improve each element and see how the textures of each asset could give the most information but still be simple enough that I could easily do paintovers later on. I find it helpful to create a motif that you can repeat throughout the environment whether it’s a decorative element or architectural element. This helps with making the environment feel consistent and the feeling of scale. When it comes to big environments like this, I find that creating a group of assets of different sizes which I can easily rotate, or duplicate was helpful in speeding up the process of populating the environment.

There is sometimes the temptation to go in a different direction, especially if there are feelings of uncertainty. It’s been great to have a team available when I just need some guidance, which is why I’m really grateful for the people at Atomhawk.”

Finishing

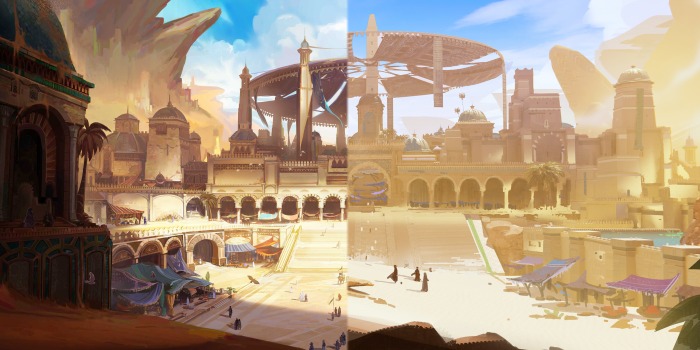
“This is where I look at my colour sketch again and then spend the time to capture that lighting and color scheme. It’s important to make sure the values read cleanly and then see which parts of the render can go further in the back and which details I can simplify.

To make the scene lively, I add more pops of color and ramp up the contrast. As I want this to read as a stylized piece, I make sure to paintover where I can and to remove any parts that come off as too “realistic”. I also end up replacing some textures from the render with my own ones to make it look more painterly. If needed as well, I also add in some elements that could help frame the focus more whether they be architectural elements that are in shadow or distant birds.

Lastly, I work on isolating some of the buildings which I then also paint over to keep the style painterly. It’s always fun to see the pieces together at the end!”

Ending thoughts

“Overall, this was an incredibly challenging but fun project! I got to learn so much more about working in 3D and how to best balance it with working in 2D. While working on this, there were times I doubted myself and had several instances where I would start from scratch or repaint things again and again. When encountering this difficulty or self-doubt, we might believe that we should handle things alone, when the most important thing we can do is to reach out and ask for guidance.

Feedback is an essential part of the process and that’s the benefit of working within a team. I’m really thankful for my teammates at Atomhawk for all of their help and thanks to them, elevated this project to a level I wouldn’t have been able to do alone!”

Want to find out more about what it’s like to work at Atomhawk? Check out more of our helpful Resources, and current available roles on the Careers page.